Windows 10 Desktop Installation (VirtualBox)
Tip
When using a Windows host, ensure that it meets or exceeds the minimum requirements.
See the requirements table here
NOTE: These are minimum requirements. If your Windows machine is already running a lot of tasks, you’ll need more CPU and/or more RAM. If you’ve got a lot of data already on your disk, make sure you have at least 50 GB free.
The Reach Technology G3 Developer VM runs in VirtualBox. See the VirtualBox website for information on VirtualBox.
Installing VirtualBox
Note
References and instructions are for Windows platforms. Other platforms will look somewhat different.
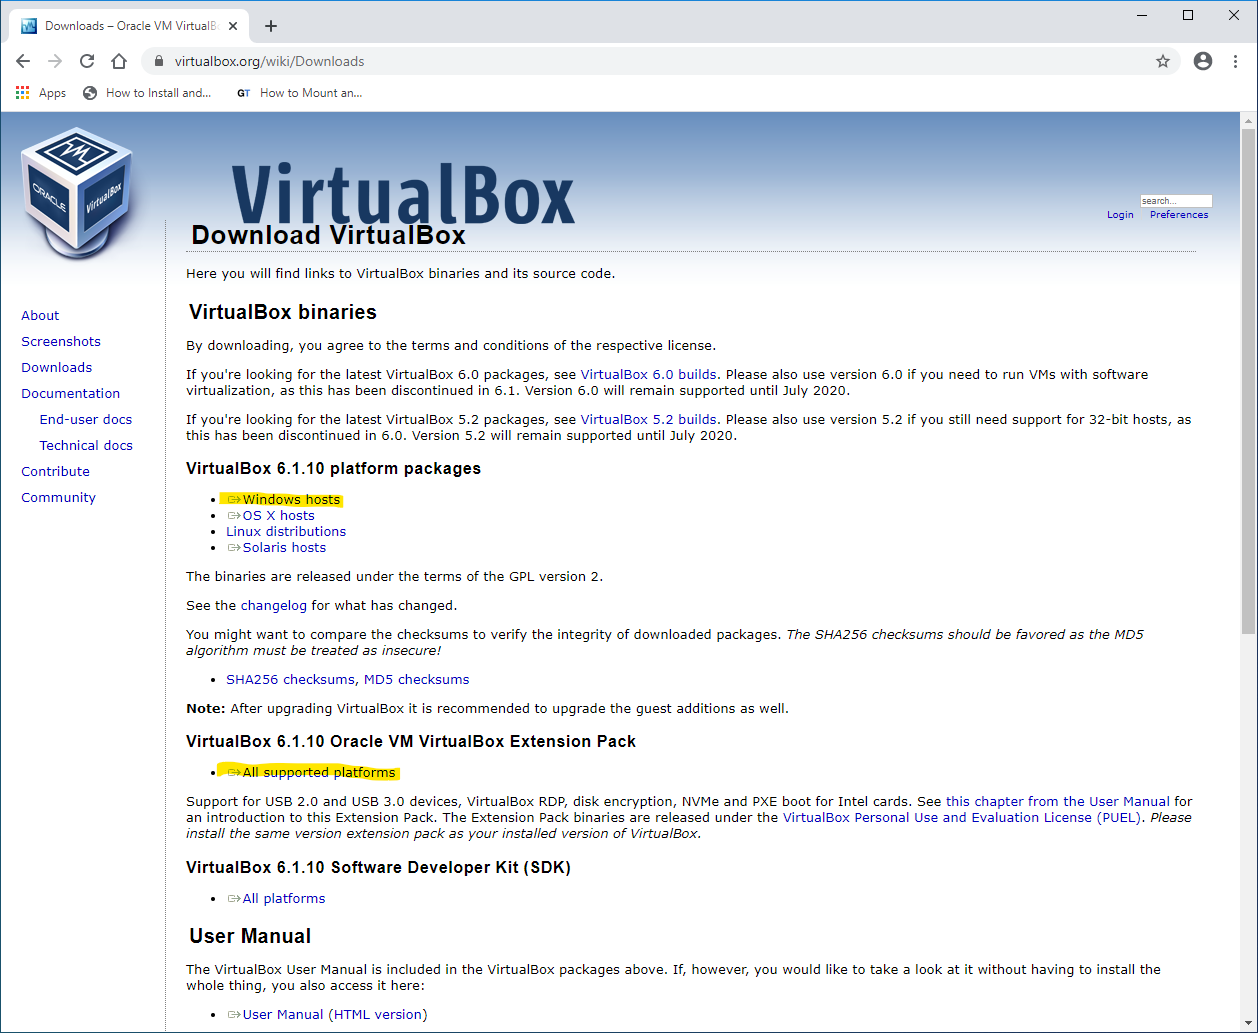
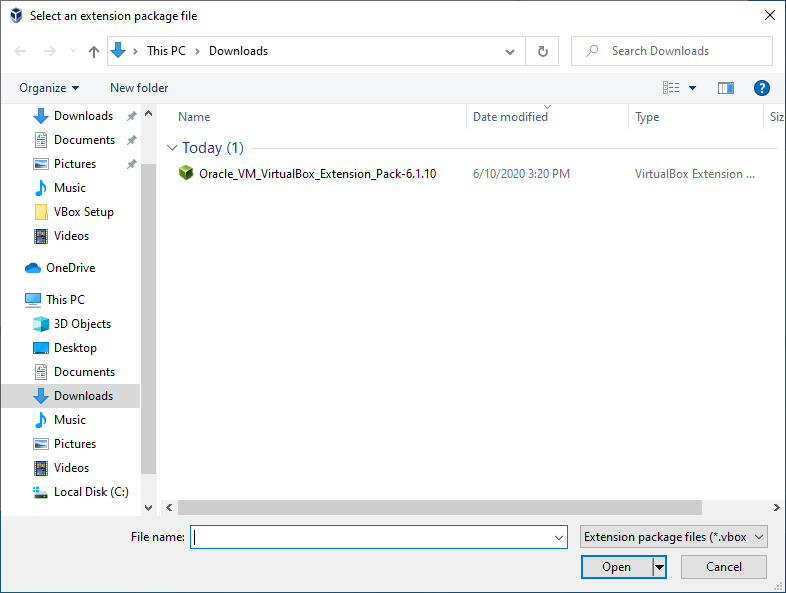
Using your favorite web browser, download the
VirtualBoxinstaller forWindows 10and the matching Extension Pack from the VirtualBox Download web site, which is shown in the figure below.
Once the download is complete, your Downloads directory should look something like this2:
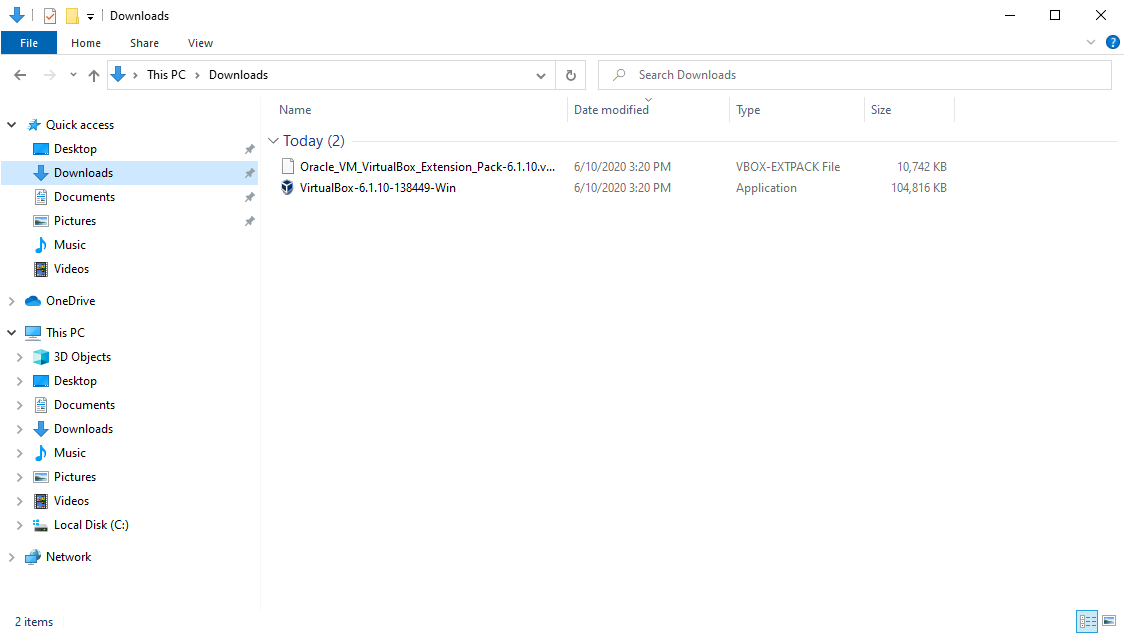
VirtualBox Installer Downloads
Right-click the
VirtualBoxinstaller and select “Run as administrator” from the popup menu.Click “Yes” in the popup dialog that asks if you want to allow the installer to make changes to your machine.
Proceed through the installer dialogs, accepting the defaults unless you really need to change something and know what you’re doing. Refer to the VirtualBox Documentation if you require additional information.
When the installer completes, you should have a new icon on your desktop titled “Oracle VM VirtualBox.”
Double-click the new icon to launch the
VirtualBoxManager. You should see a window like the one below:
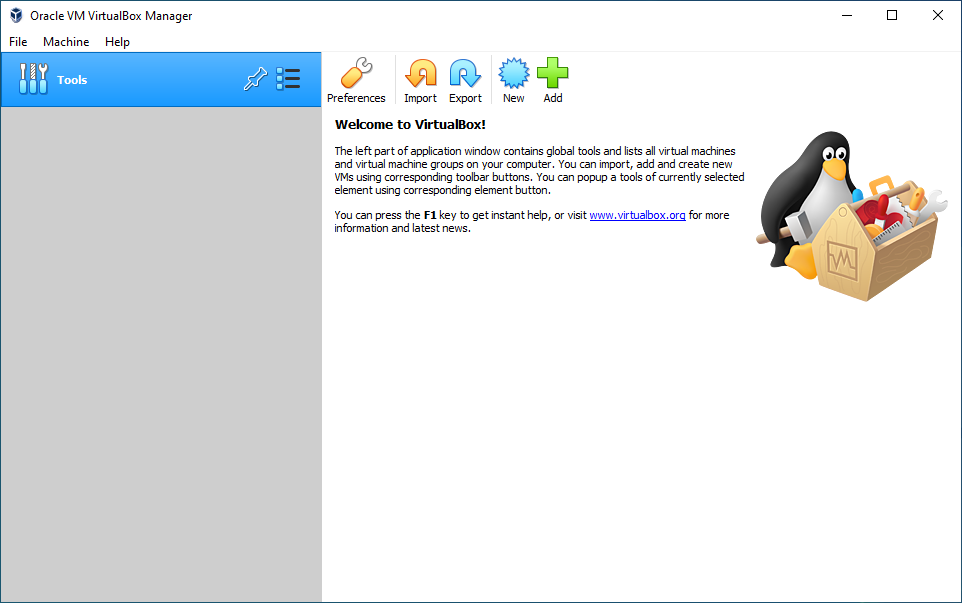
VirtualBox Manager
Before you can import the Reach Technology G3 Developer OVA, you must install the extension pack that was already downloaded.
Open the “File” menu in the
VirtualBoxManager and click “Preferences” then select “Extensions” on the left side of the popup dialog as show in the figure below:
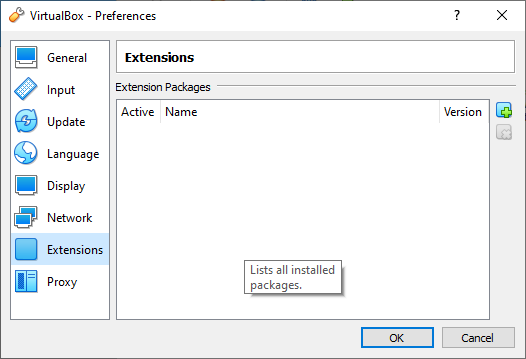
VirtualBox Manager Extensions Preferences
Click the blue box with the green “+” on it to launch the extension selector dialog shown in the figure below3:
Extension Selection Dialog
In the extension selection dialog, double-click the green cube icon of the extension pack, then proceed through the popup dialogs to install it. Once installed, the extensions preferences should look like the figure below:
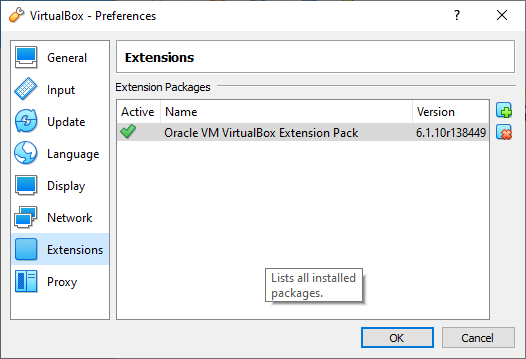
Updated Extension Selection Dialog
Click “OK” to dismiss the dialog.
Now you’re ready to import the Reach Technology G3 Developer OVA.
Footnotes:
- 1
At the time this document was written, 6.1.10 was the current version available. However, new versions are released frequently so wherever you see 6.1.10 in a file name or window in the figures in this section, just substitute the current version that you downloaded.
- 2
At this point, the extension pack file has a plain document icon because
VirtualBoxhas not been installed and registered its file types yet.- 3
Note the extension pack file now has a type-specific green cube icon.
Installing the Reach Technology G3 Developer VM
Todo
add link to the OVA download tables
Download the correct developer OVA. Your Downloads directory should now look something like this:
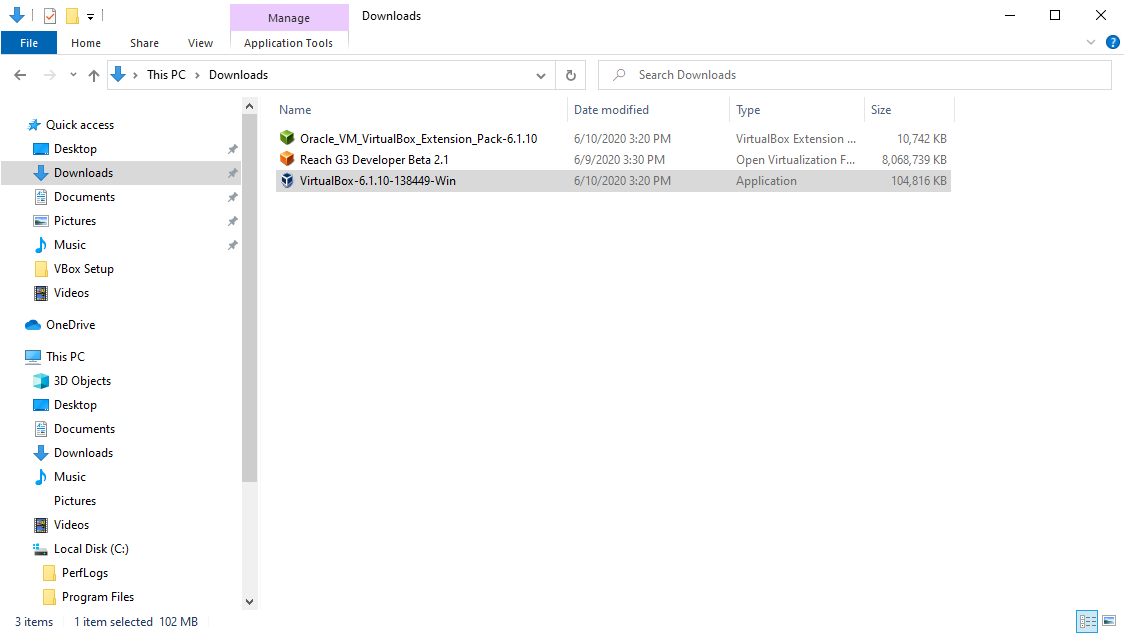
Downloads Folder with Reach Technology Developer OVA
If you closed the
VirtualBoxManager, double-click the new icon to launch theVirtualBoxManager. You should see a window like the one below:
VirtualBox Manager
Click the “Import” button to launch the virtual appliance import dialog shown in the figure below:
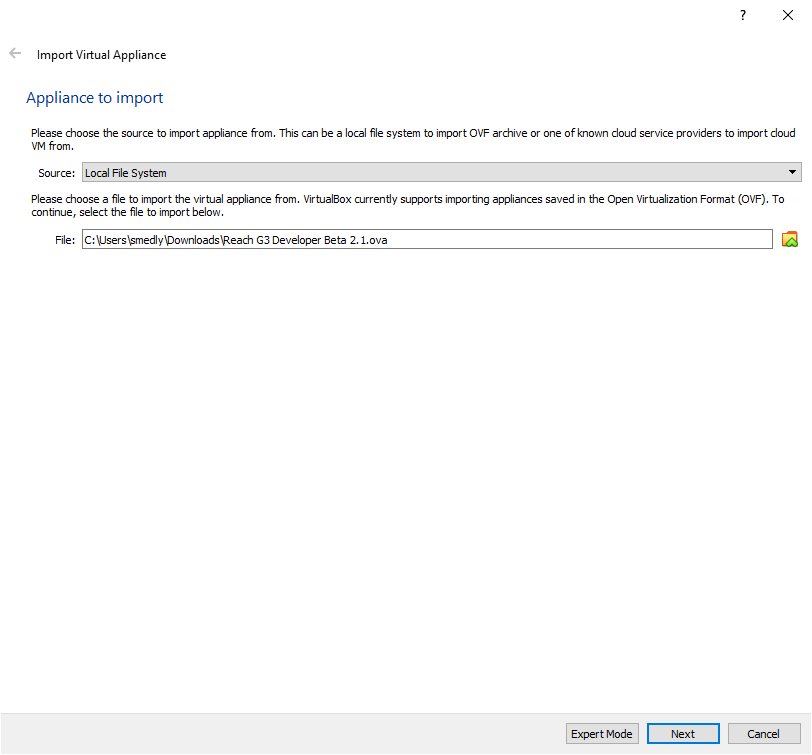
VirtualBox Virtual Appliance Import Dialog
When the virtual appliance import dialog first launches, the “File:” textbox will be empty. Click the folder icon to the right of the “File:” text box to launch the virtual appliance file selector and select the Reach Technology G3 Developer OVA file you downloaded previously.
Click “Next” to launch the virtual appliance settings dialog, which should look like the figure below:
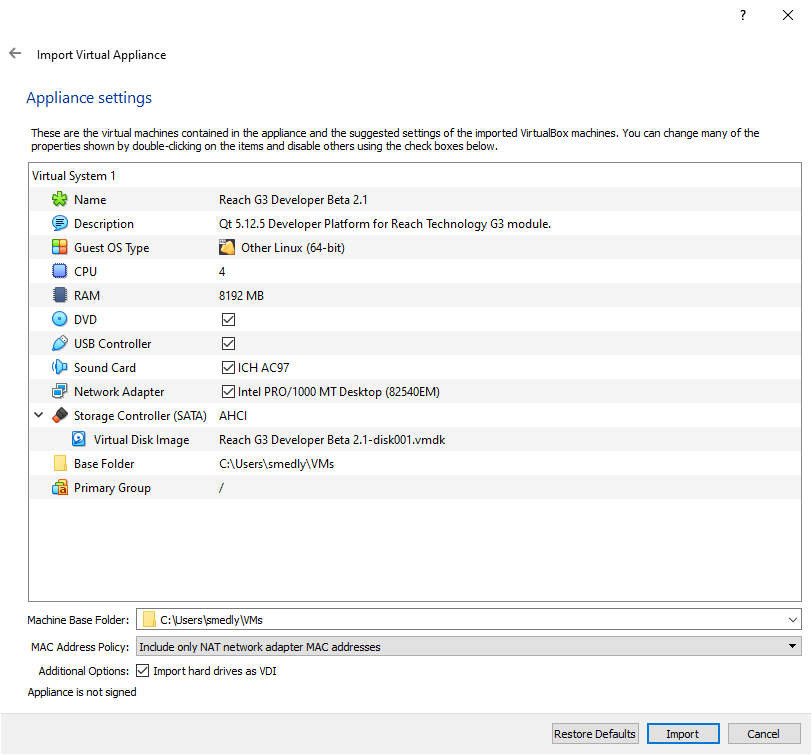
VirtualBox Virtual Appliance Settings Dialog
Click “Import” to import the Reach Technology G3 Developer OVA.
The VirtualBox Manager should now look like this:
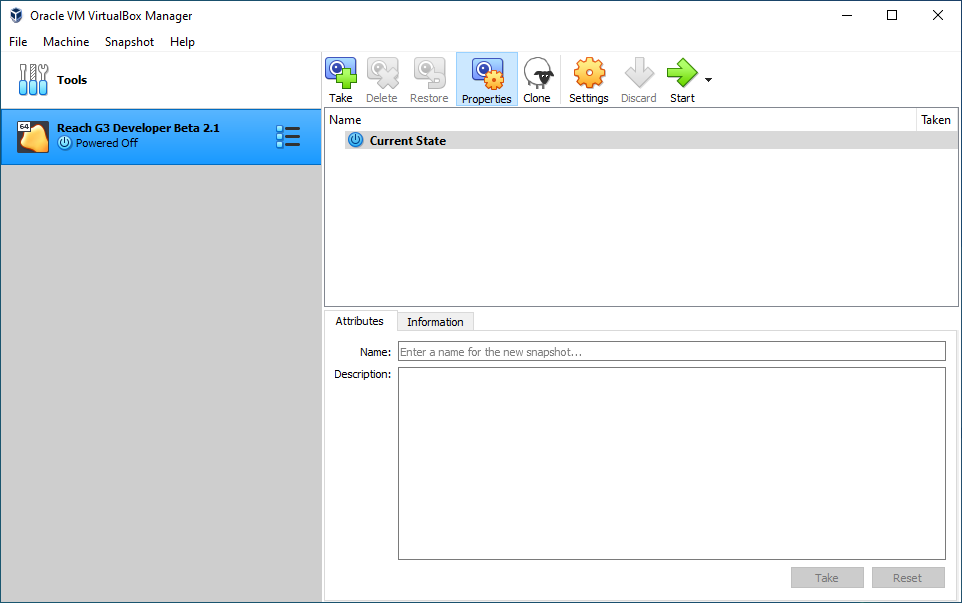
VirtualBox Manager after Virtual Appliance Import
Click the “Settings” button and verify that your appliance imported correctly by making sure the various settings pages match the figures below. There may be a few slight differences due to underlying host hardware differences, e.g. the number of CPU cores, but do not alter any settings until you’ve read the configuration section.
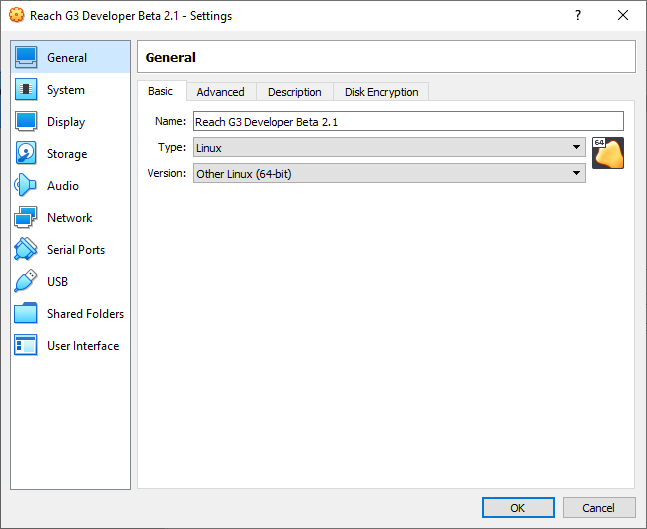
VM Settings->General->Basic Panel
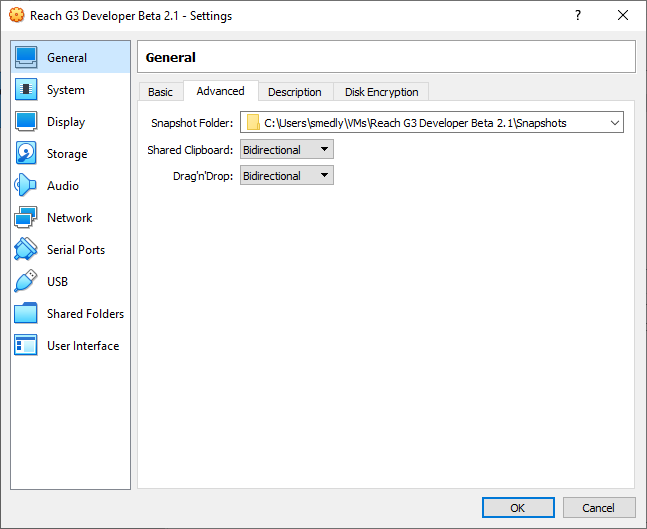
VM Settings->General->Advanced Panel
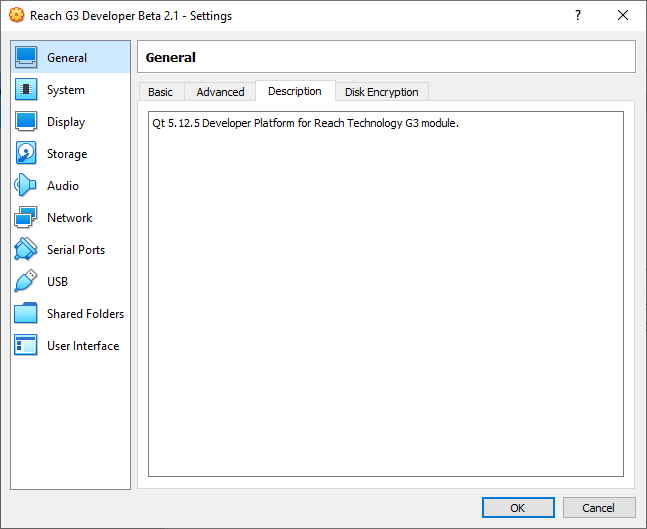
VM Settings->General->Description Panel
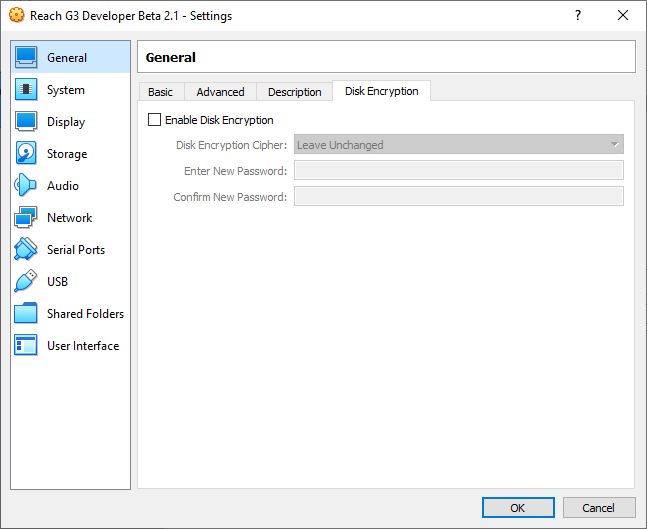
VM Settings->General->Disk Encryption Panel
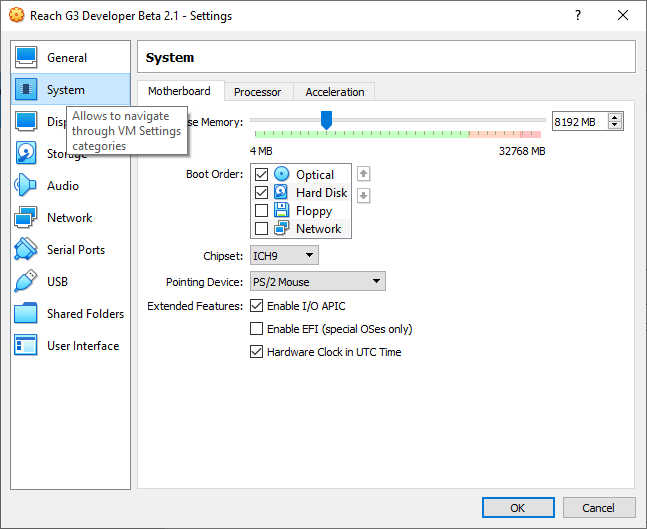
VM Settings->System->Motherboard Panel
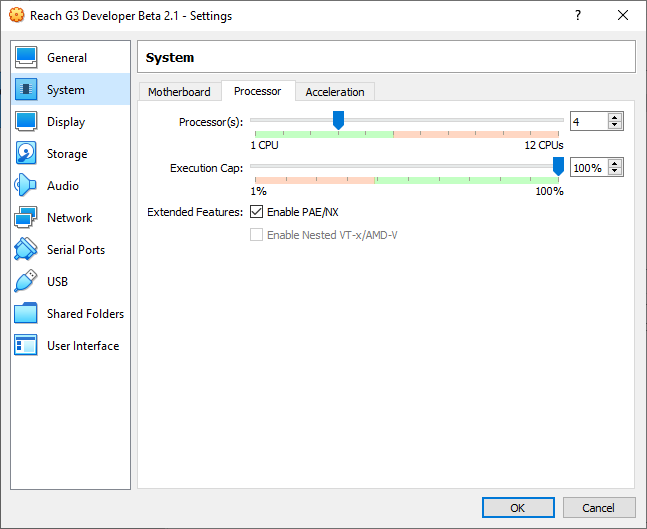
VM Settings->System->Processor Panel
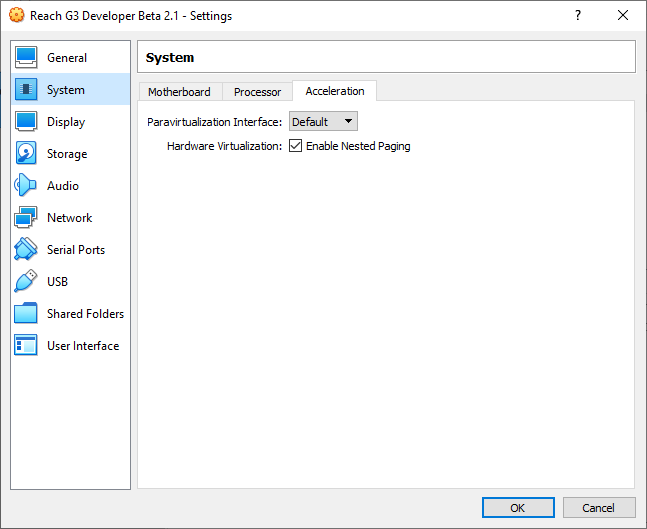
VM Settings->System->Acceleration Panel
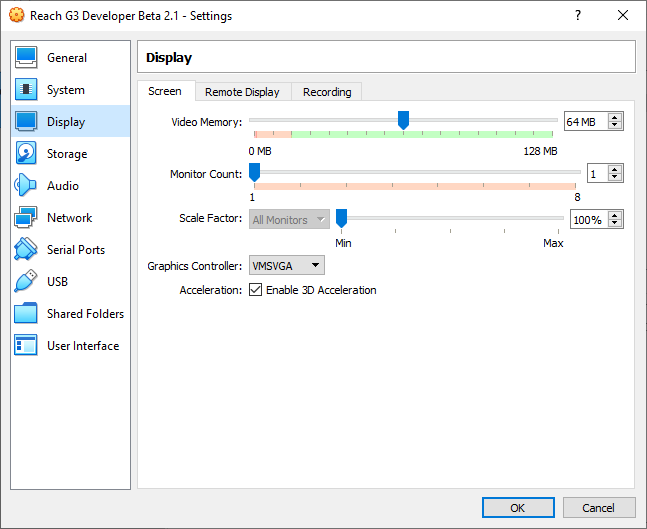
VM Settings->Display->Screen Panel
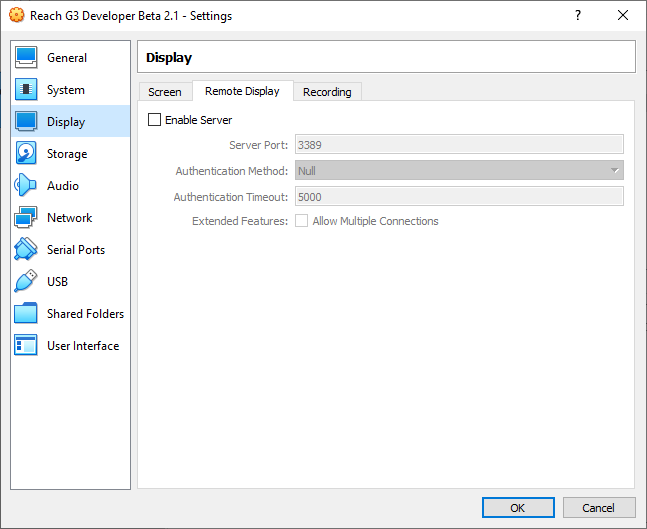
VM Settings->Display->Remote Display Panel
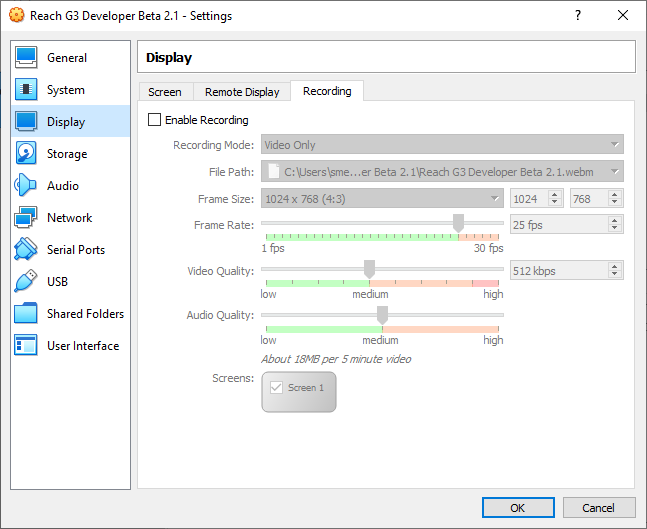
VM Settings->Display->Recording Panel

VM Settings->Storage Panel
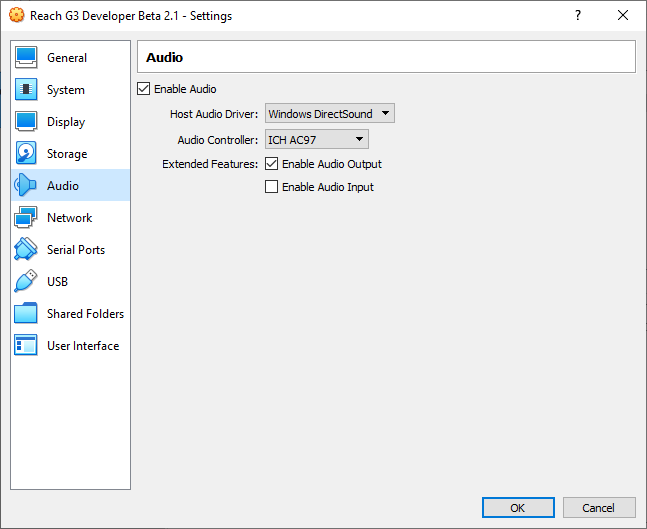
VM Settings->Audio Panel
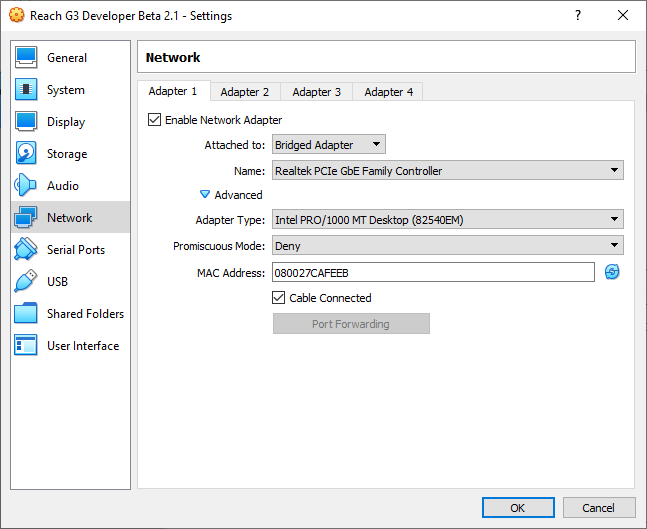
VM Settings->Network Panel
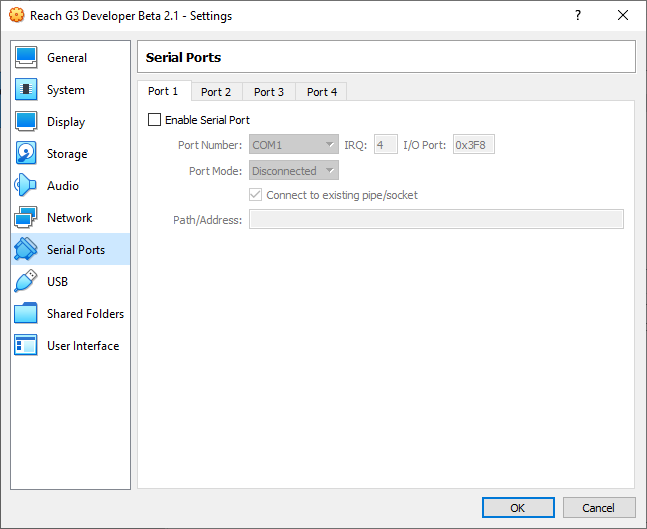
VM Settings->Serial Ports Panel

VM Settings->USB Panel
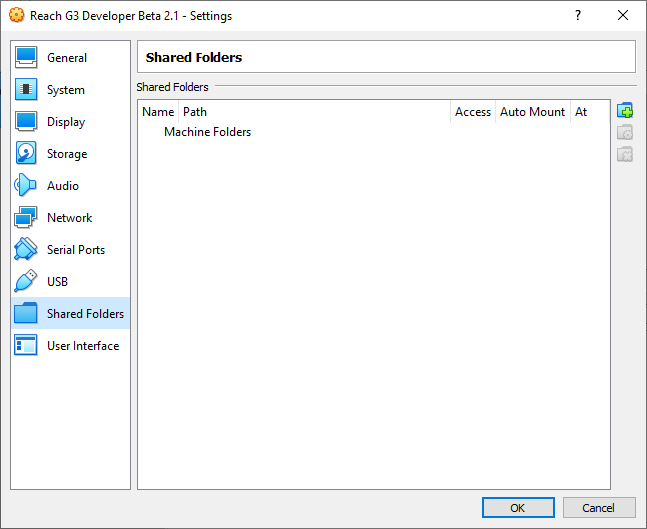
VM Settings->Shared Folders Panel
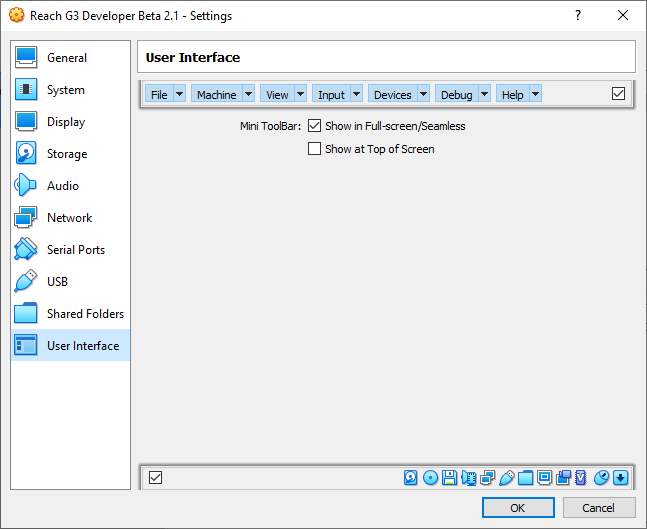
VM Settings->User Interface Panel
Tip
If you installed version 6.1.16 or greater, you’re done with the basic installation and can move on to the next chapter - configuration. If not, please continue through the remaining steps to update the guest additions inside the virtual machine.
Make sure the Reach Technology G3 Developer VM is selected in the left column as in the figure below:
VirtualBox Manager with Reach Technology G3 Developer VM Selected
Click the “Start” button to launch the virtual machine. You should see a window that looks like this:
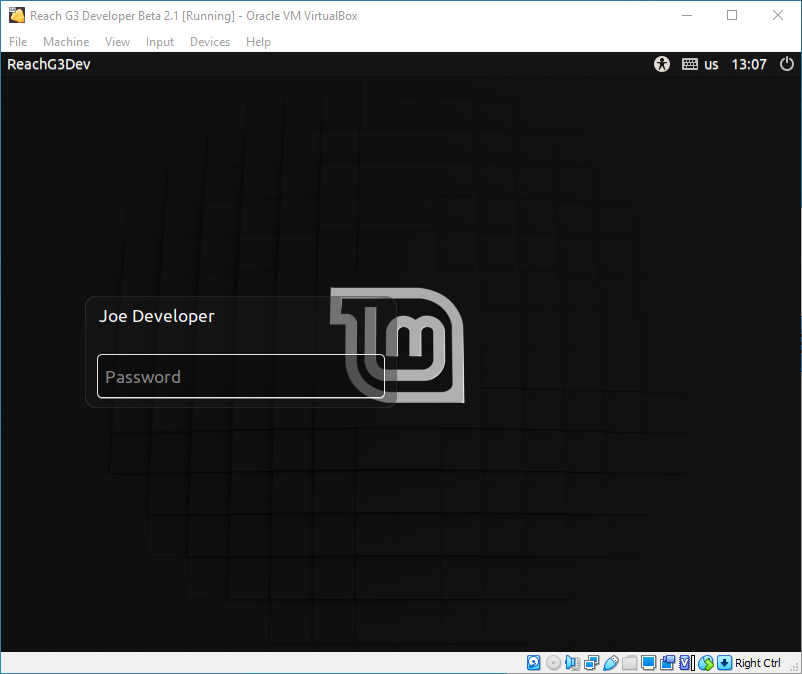
Linux Mint 20 XFCE Login Screen
Login with the password developer. Your window should now look like this:
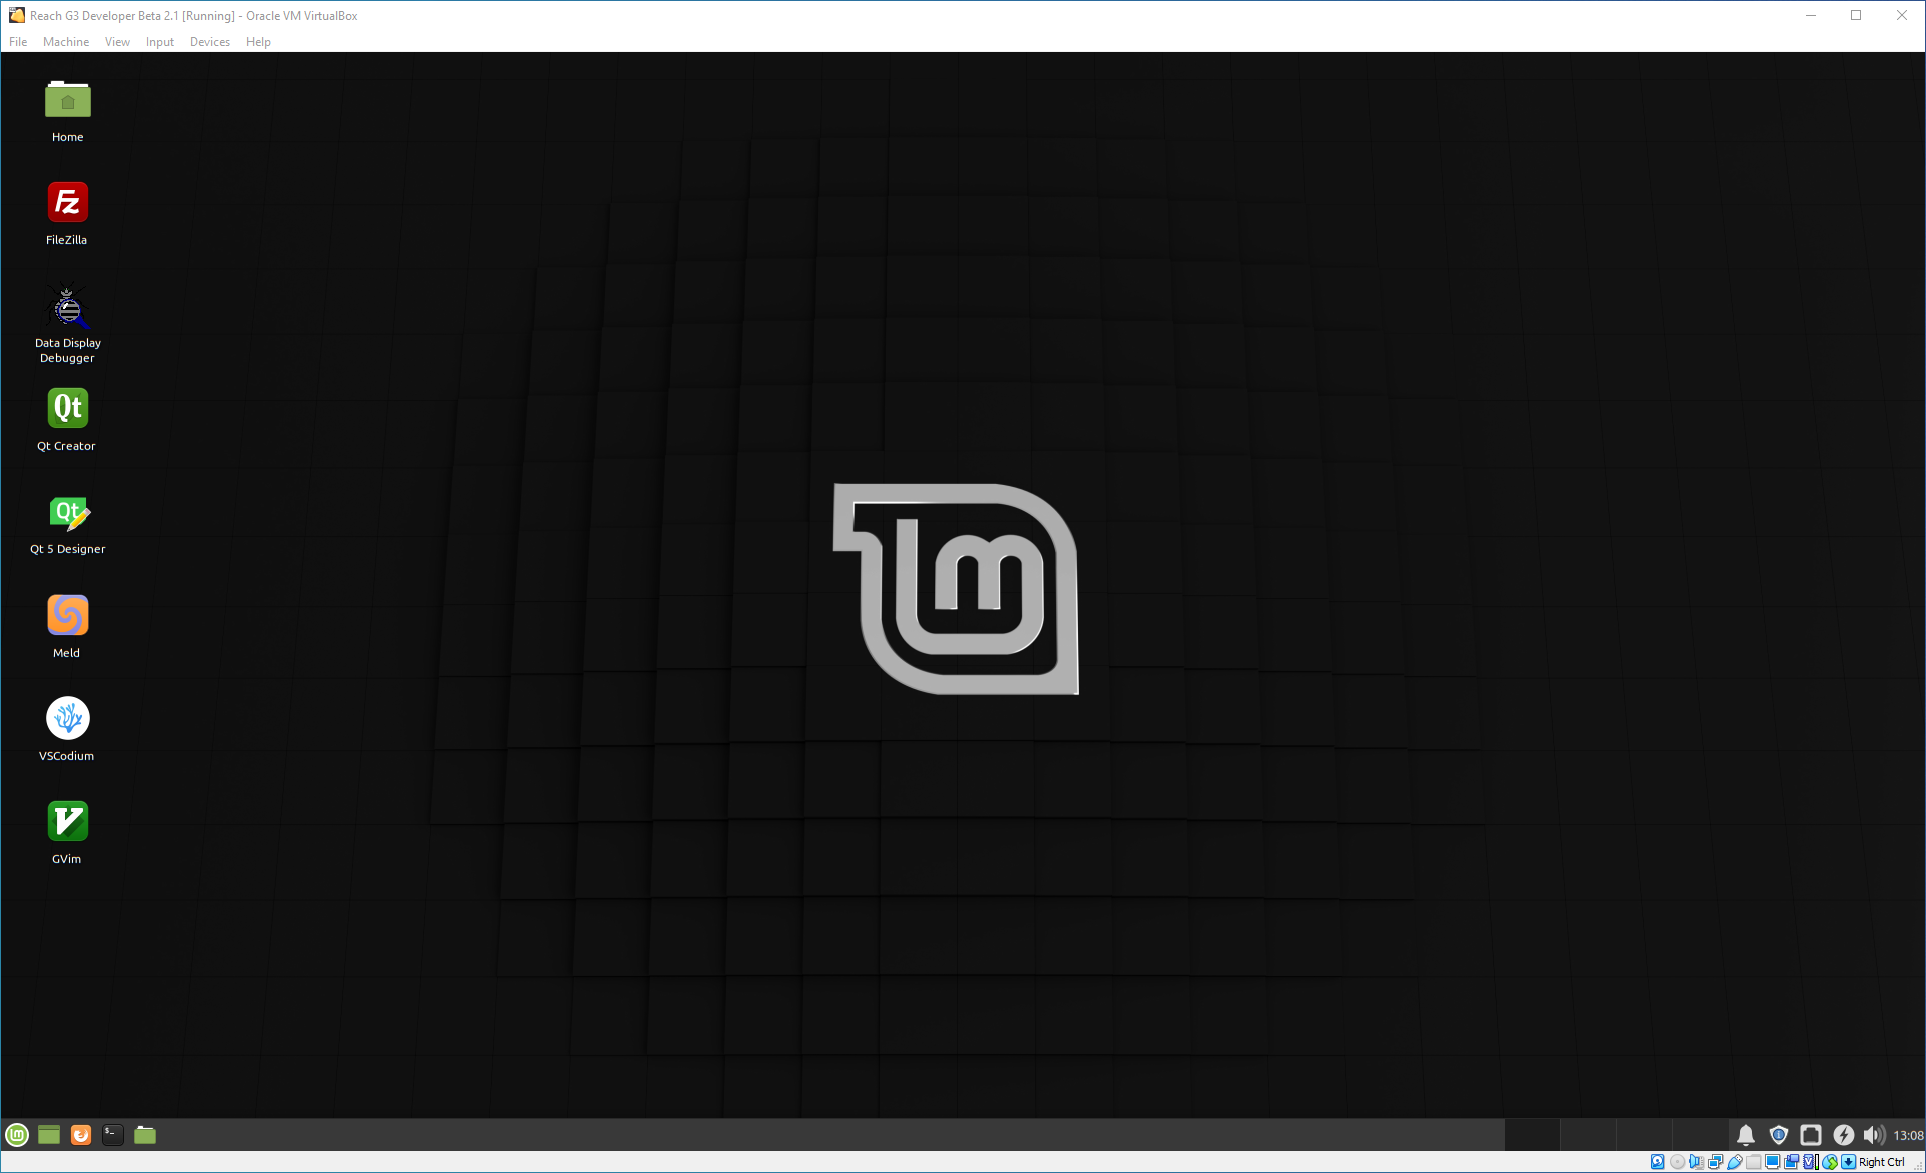
Linux Mint 20 XFCE Desktop
Click “Devices” in the menubar and select “Insert Guest Additions CD Image…”, see the figure below:
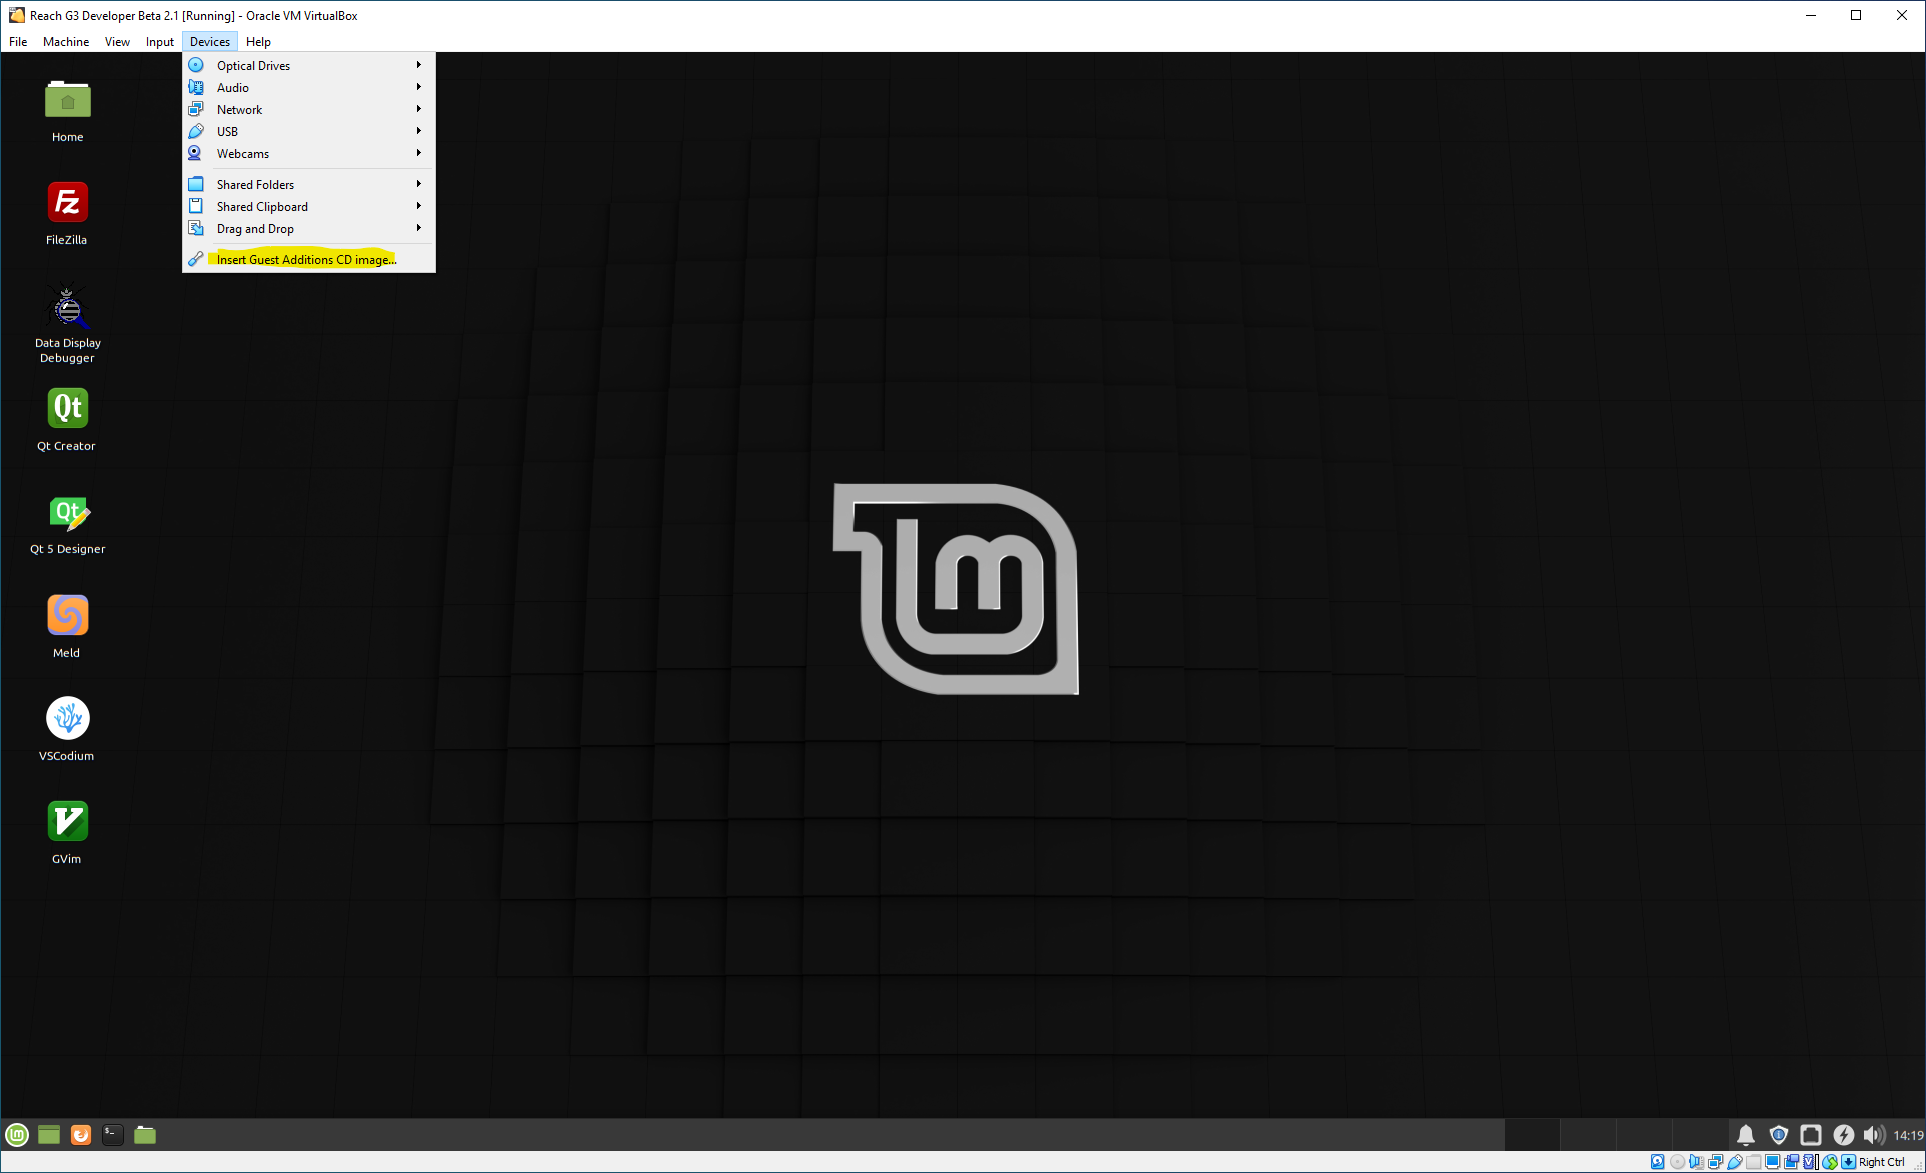
Attaching the Guest Additions ISO Image
After a few seconds, Linux Mint will automount the CD image and popup a File Manager window.
Click the terminal launcher button at the left end of the Linux Mint toolbar at the bottom of the Linux Mint desktop; it’s the black one with the “$_” in it. Other than the command string in the terminal window, your Linux Mint desktop should look like this:
Installing the Guest Additions
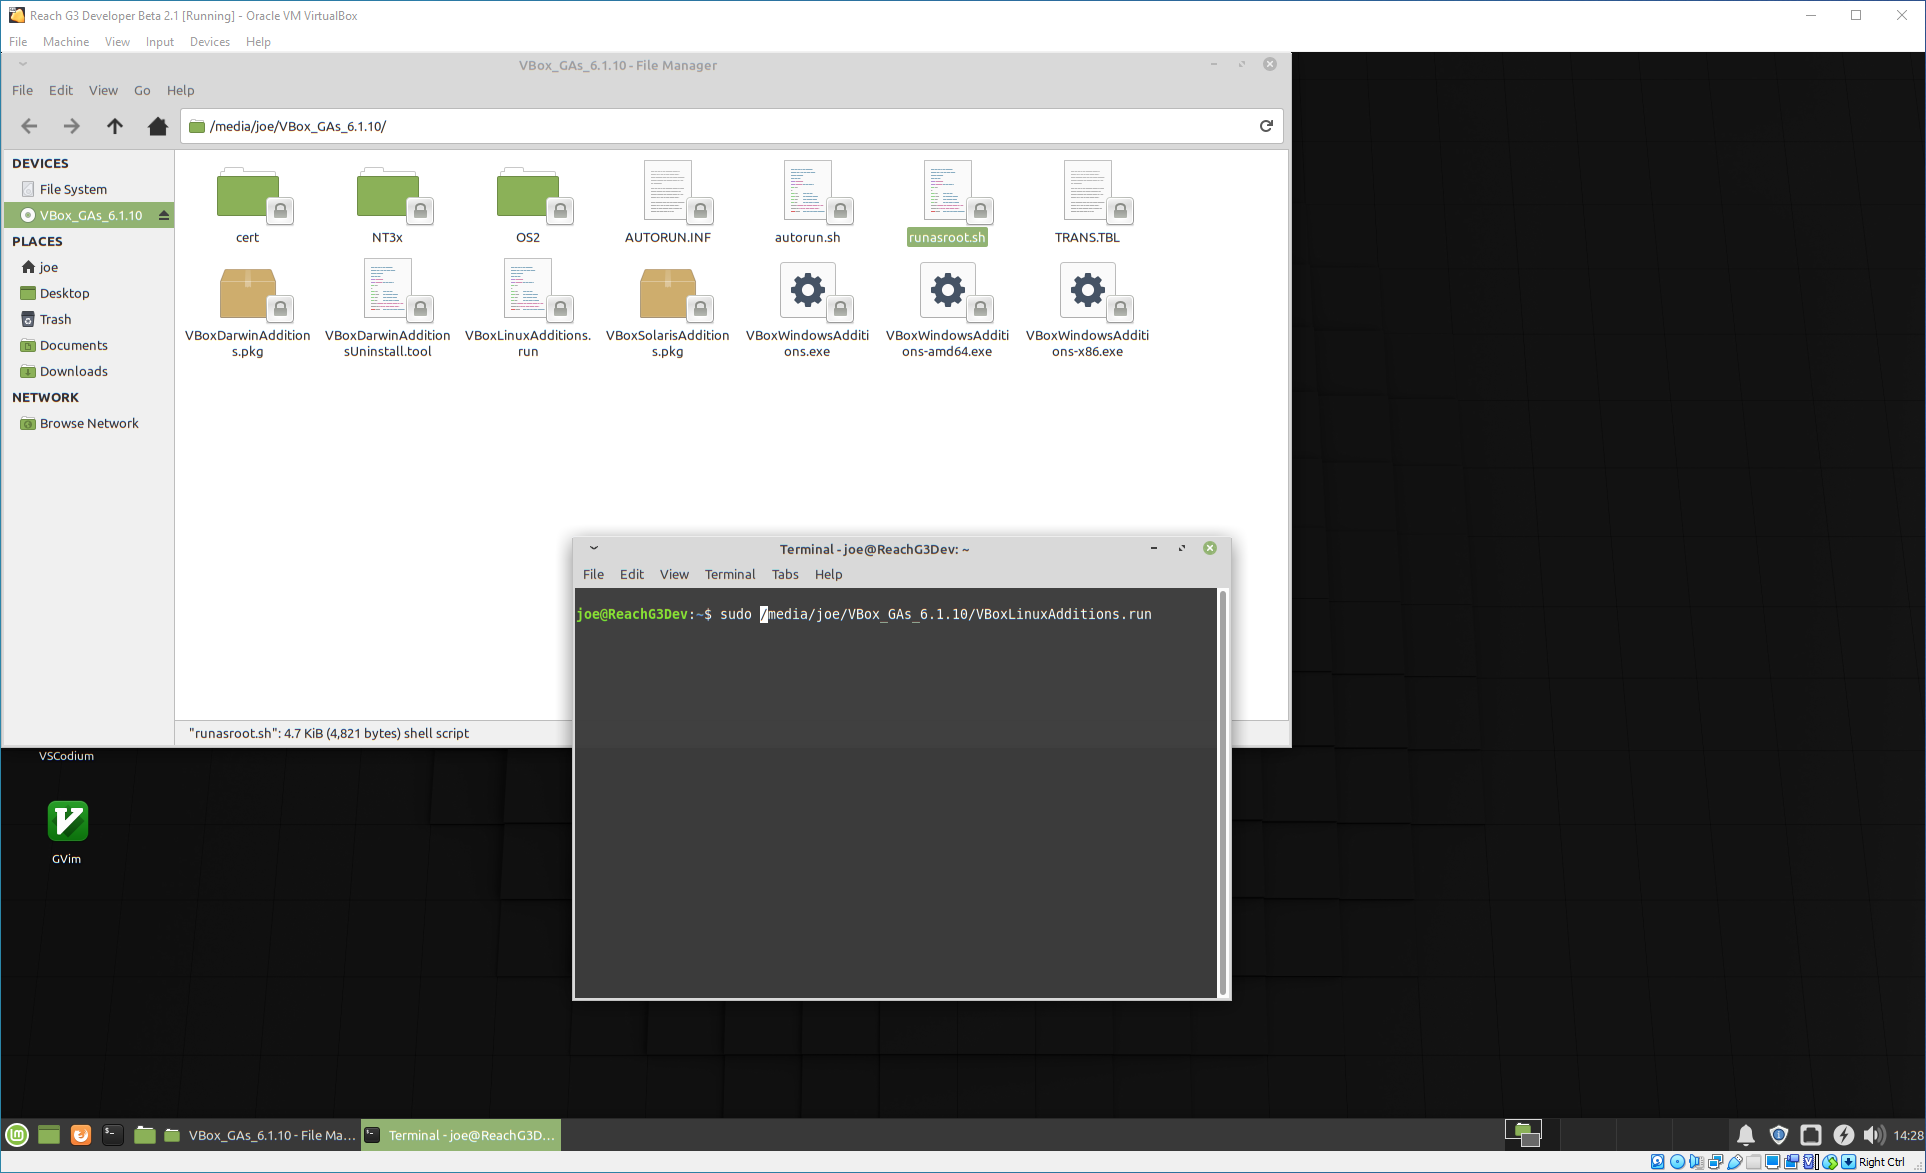
Type in the command shown in the figure above and press <enter>.
Important
Remember to change the “6.1.10” part to match the version of
VirtualBoxyou downloaded and installed. Look at the path in the File Manager window to confirm the proper substitution value.This will take several minutes… just wait until the green “joe@ReachG3Dev:~$” shell prompt returns.
Tip
If you’re having trouble reading the command in the image, right click the image and open it in another browser tab. Widen the browser to allow the image to scale up to a size that the text in the terminal window is readable.
Once the shell prompt is back, close both windows on the Linux Mint desktop by clicking the green X at the upper right corner of the window.
Finish by shutting down your shiny new Linux Mint 20 XFCE virtual machine.
Click the Linux Mint Start Panel button, the green one at the very left end of the Linux Mint toolbar. Your virtual machine window should now look like this:
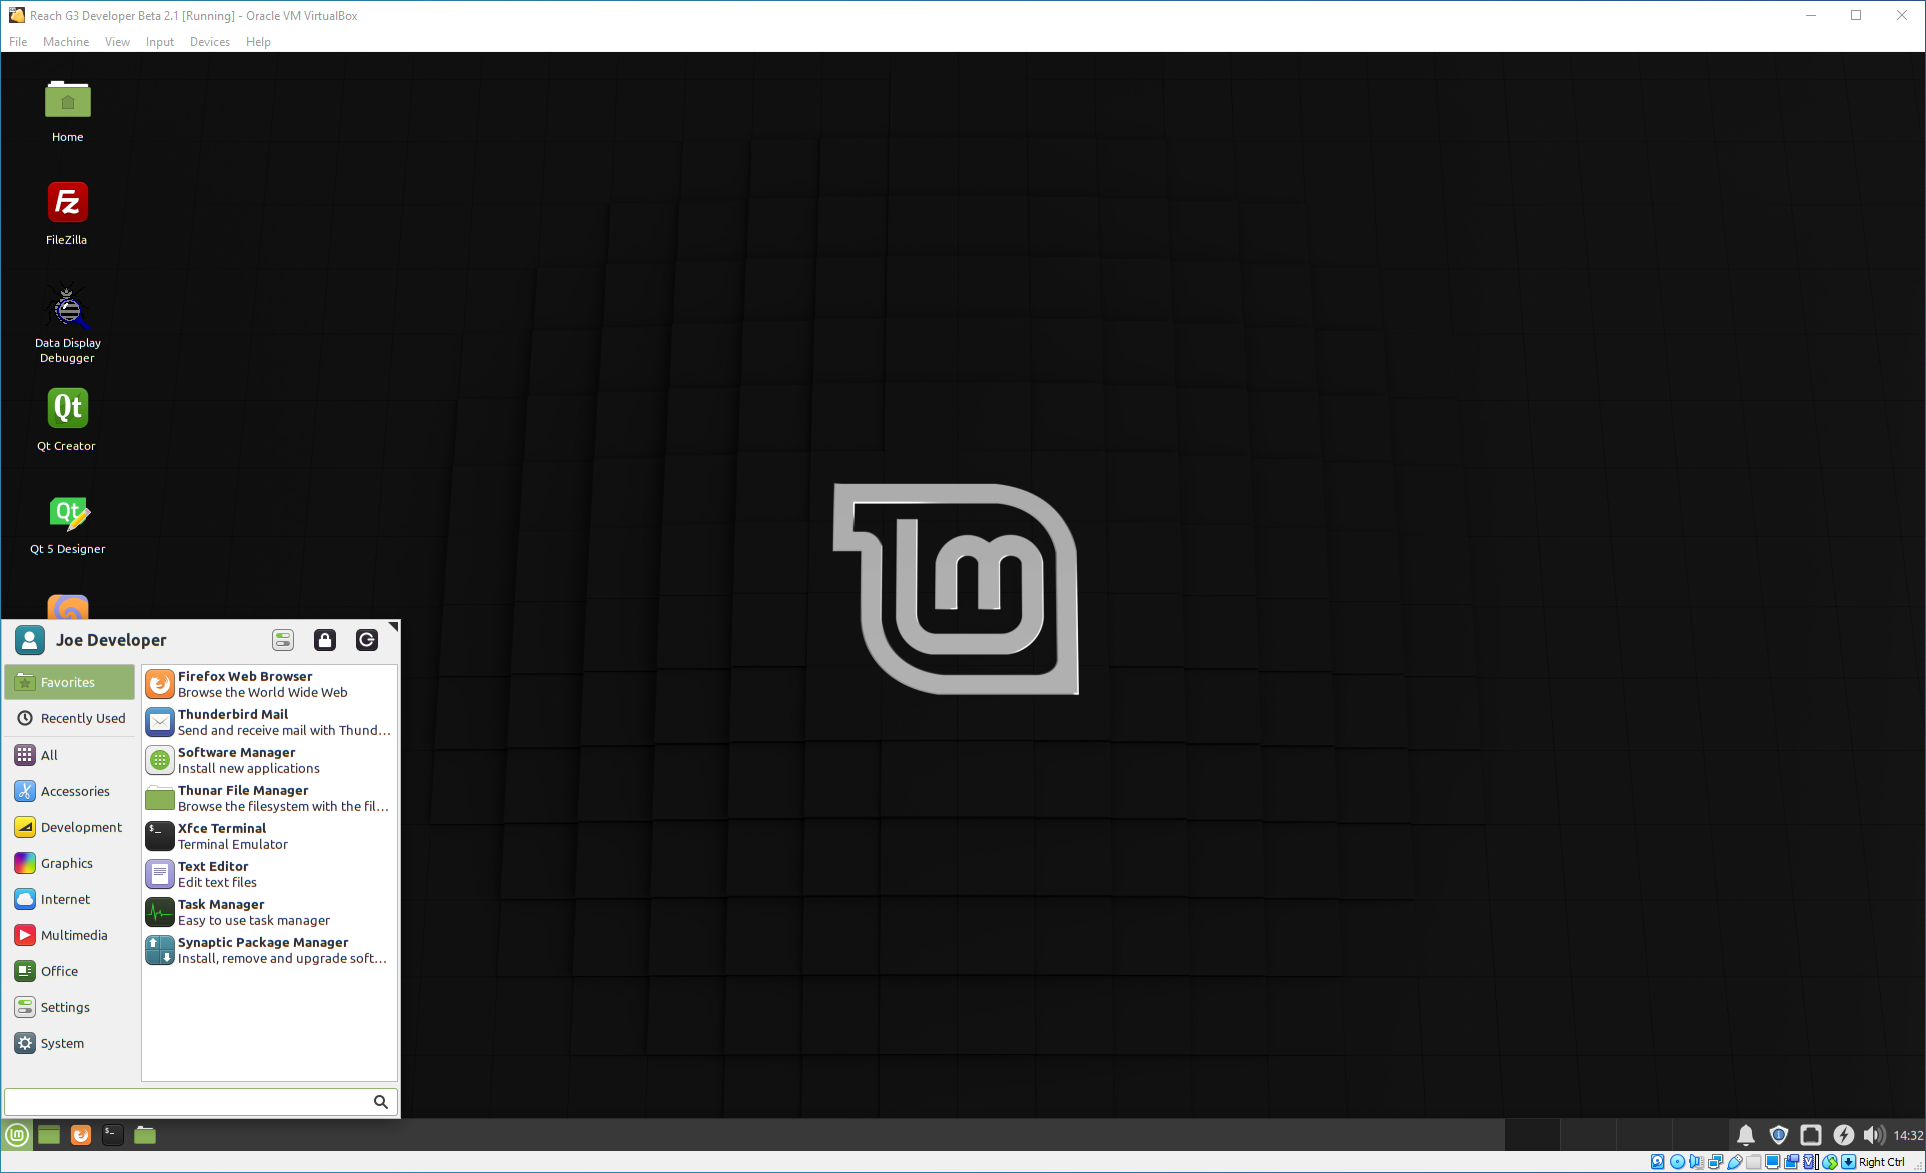
Linux Mint 20 XFCE Start Panel
Click the power button at the very upper right of the Start Panel. This will popup the shutdown dialog, as shown below:
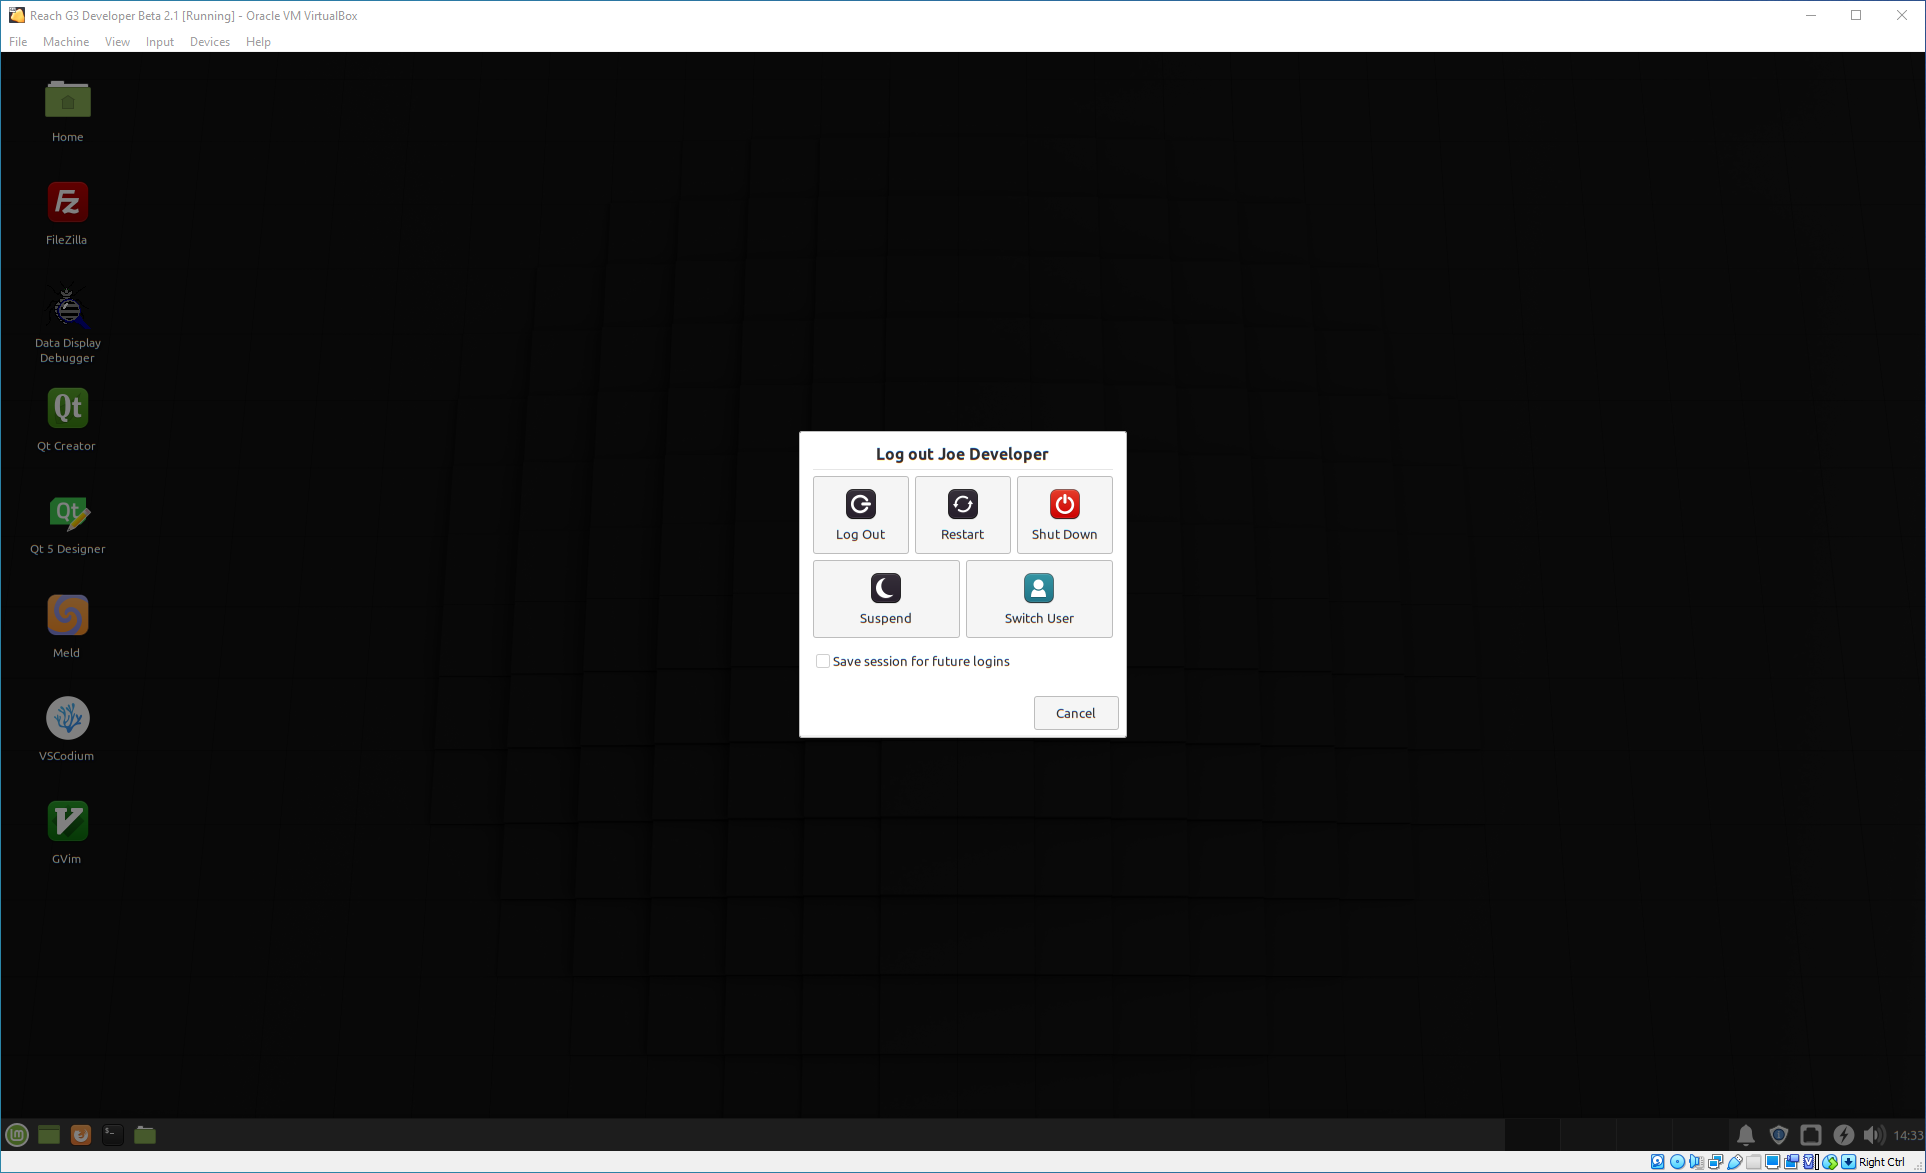
Linux Mint 20 XFCE Shutdown Dialog
Click the red “Shutdown” button to shutdown the Linux Mint virtual machine.
If the
VirtualBoxManager is still running, you can now close that window as well.
Basic installation is now complete. Please proceed to here for detailed post-installation configuration instructions.