Developer VM Setup
Reach Technology provides pre-configured Developer VMs for a few reasons.
We have a family of modules based on processors from different manufacturers.
We have two very different UI development stacks depending on which GUI toolkit you wish to use.
The proper installation of a Yocto Software Development Kit (SDK) and integrating it into Qt Creator is somewhat complex and amazingly easy to totally bork.
Install the Developer VM
The installation instructions in the Developer Manual
show the installation and configuration process for the Qt version of the Developer VM
on Windows 10. Although the various windows and dialogs will look slightly different,
the basic instructions are equally applicable to installation on MacOS or Linux1. Follow the links in the table below to complete the download, installation
and final configuration of your Developer VM
Item |
Location |
|---|---|
System Requirements |
|
Installation |
|
Configuration |
Tip
Open the links in the table above in new tabs or new windows so it’s easy to get back here.
Footnotes:
- 1
If you have the technical capability to install and configure the Reach Technology G3 Developer SDK and the proper GUI RAD tools on your Linux distro, that is the recommended approach. The Developer VM will work, and is probably faster to install and do final configuration on. But as with any VM, it will not give the same level of performance as running the tools natively.
Log In to the Developer VM
Now that you’ve got the Developer VM installed, it’s time to log in and poke around.
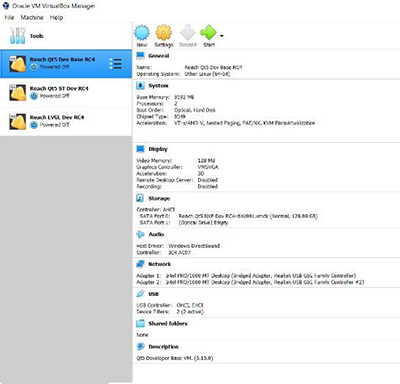
Open VirtualBox Manager.
Select the VM in the sidebar and click start (green arrow).

Select and Start the Developer VM
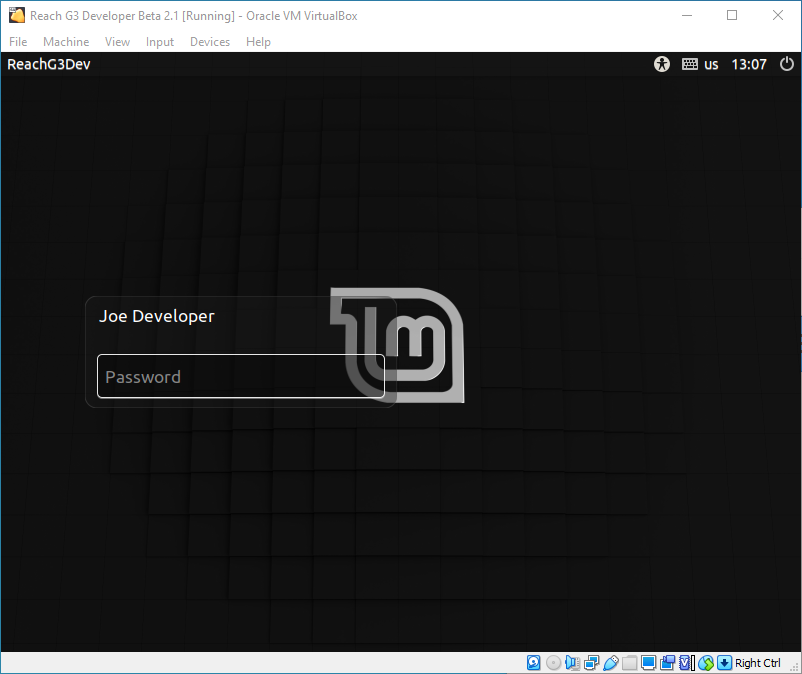
Log in to the VM. The password is
developer.
Logging In To The Developer Account
Important
The revision level of the SDK deployed in the VM must match the revision level of the G3 module boot image.
In the Debug Interface Terminal Emulator session, type cat /etc/reach-release
to see the image revision tag.
In the VM, the image revision tag is built into the Reach Technology G3 Developer SDK path. Walk down the filesystem from /opt/reach/sdk until you find the directory name that looks similar to the tag in /etc/reach-release on the G3 module.
They must be identical, or you will experience random failures of your end product application on the G3 module.